Bucket Tooth Adapter Repair or Replace: A 2026 Buyer’s Guide
The adapter is the cheapest part on the bucket to replace and the most expensive one to ignore. It carries every load the tooth takes, it survives four or five tooth changes, and it is the part that decides whether a worn edge becomes a weld job or a new bucket. This guide gives you the measurements, the thresholds and the questions to ask, so the decision is made on numbers rather than on how the edge looks at the end of a shift.
Why the adapter, not the tooth, sets your GET bill
A tooth point costs roughly USD 40–120. The same adapter, replaced including welding, machining and labour, runs USD 800–2,500 per position, and independent field data puts adapter replacement at three to six times the cost of a tooth (source: Join Machinery K Max replacement guide, 2026; TrueCast hardfacing analysis). That ratio is the whole argument for repair — but only while the adapter is still a repairable part.
The cost of delay is measurable. Every 100 hours of operation on a tooth that should already have been changed can shorten adapter life by 15–20%, because a worn point stops protecting the nose and starts hammering it (source: Join Machinery, 2026). Worn adapters also loosen the tooth, and a loose tooth shears pins, cracks noses and eventually reaches the lip.
The market is pushing the same way. Weir’s Q3 2026 update shows ESCO aftermarket orders up 14% while ESCO original equipment orders fell 24%, as mining customers maximise output at lower ore grades (source: Weir plc Q3 2026 trading update, via Kalkine Media). A rebuild programme that keeps good adapters in service is a cost strategy, not a shortcut.
Five checkpoints that decide the answer
1. The nose
The nose is the tapered seat the tooth slides onto. It wears from abrasion once the tooth is loose, and from impact when the tooth is run past its limit. A nose that has lost its taper will not hold a new tooth, however tight the pin feels on the bench.
2. The pin bore
Bore growth is the quiet killer. Measure it with an internal micrometer at two axes. A bore that has grown more than 3 mm from drawing needs evaluation by a welding specialist rather than a new pin (source: Join Machinery, 2026).
3. The wings and side faces
These take the side load in trenching and corner work. Once they thin, the adapter twists under load and the tooth seats at an angle. Thickness here is a go/no-go number, not an opinion.
4. The weld toe and lip junction
For weld-on adapters this is the structural joint. Any crack that runs from the toe into the parent metal, or along the lip, ends the repair conversation. Hairline cracks in the deposit only can be gouged out and re-welded.
5. The seating face and the shin
The face that beds against the lip sets the tooth angle. If it is dished or out of flat, every tooth you fit will sit crooked and wear on one edge — the most common reason a rebuilt adapter fails again within weeks.
The repair-or-replace matrix
The thresholds below are the ones used in aftermarket GET practice in 2026, cross-checked against supplier guidance. Print them, keep them in the maintenance office, and measure at the same interval every time.
| Checkpoint | How to measure | Repair (weld build-up) | Replace |
|---|---|---|---|
| Nose-to-tooth clearance | Fit a new tooth, measure gap with feeler gauge | 1.0–3.0 mm — build up nose profile | Over 3.0 mm, or tooth rocks on the nose |
| Nose length loss | Caliper against drawing | 3–6 mm lost | Over 6 mm, or more than 10% of nose length |
| Pin bore diameter | Internal micrometer, two axes | +1 to +3 mm — bore and bush, or build up | Over +3 mm, or bore out of round |
| Cracks at weld toe | Dye penetrant after grinding | Hairline, under 25 mm, confined to deposit | Any crack into parent metal or along the lip |
| Wing and side thickness | Ultrasonic gauge or caliper at marked point | 50–70% of original section | Under 50%, or deformation visible |
| Seating face flatness | Straight edge and feeler gauge | 1–3 mm out of flat — machine or build up | Over 3 mm, or heat-distorted body |
One threshold sits above all of them: once an adapter has lost about 10% of its section, replacement is cheaper than another repair cycle (source: BENEPARTS GET maintenance guidance). Repair passes have a limit, and a third rebuild on the same body is usually money spent on a part that will fail in the first month.
What a proper weld build-up actually involves
Most failed adapter repairs are not welding failures. They are procedure failures, and they are predictable enough that a buyer can audit them from a quotation.
Cleaning. Mud, grease, rust and fatigue metal have to be ground back to bright metal. Contamination causes porosity and poor fusion, and the overlay spalls off in service (source: TrueCast hardfacing procedure guide).
Preheating. Cast low-alloy adapters are preheated uniformly to 150–200°C to slow the cooling rate and prevent cold cracks. For 4140-type steels the working band is higher — 204–316°C, held at interpass (source: TrueCast, 2026; Philarc PHILHARD 4140 data sheet). An adapter welded cold will look perfect and crack in the first week.
Bead layout. The pattern has to match the wear mechanism, not the welder’s habit. Perpendicular parallel beads trap sand and give abrasion-on-abrasion in soft ground. Parallel beads along the material flow suit hard rock. A cross-grid suits mixed ground. Full-area continuous hardfacing is the wrong answer everywhere, because the heat input anneals the base metal and takes the toughness out of the adapter body.
The penalty for getting this wrong is large: controlled wear tests show improper bead layout can remove more than 40% of the benefit of hardfacing (source: TrueCast, citing ResearchGate wear tests). Measured life gains run 160–200% in sand and gravel, 110–150% in hard rock, and 130–170% in mixed ground — a spread wide enough that the procedure, not the consumable, is what you are buying.
Cooling and checking. Cover the part and let it cool in still air. Never quench, and never cool with compressed air. Then verify: minimum 55 HRC on the overlay for abrasion service, no visible porosity or undercut, and a new tooth fitted to confirm the nose geometry before the adapter goes back on the machine (source: weld procedure guidance, 2026). A repair that leaves the nose 2 mm out is not a repair.
When repair is the wrong answer
Five conditions end the discussion, and it is worth writing them into the workshop’s decision sheet so nobody rebuilds a part that should have been scrapped:
- A crack that runs from the weld toe into the parent metal, or along the lip.
- A bent or twisted body. Heat straightening an adapter destroys the hardness band that made it worth repairing.
- An oval or cracked pin boss, where the bore can no longer hold a bush.
- Two previous repair cycles on the same body.
- Section loss beyond about 10%, or a nose that no longer matches the tooth family.
The economics behind that list are blunt. An adapter set is USD 500–2,000, a lip rebuild runs USD 8,000–15,000, and a new bucket USD 25,000–40,000 (source: FieldFix bucket teeth maintenance guide, 2026). Spending USD 900 on a rebuild to protect a USD 12,000 lip is good business. Spending it on a body that is already at its limit is how a small saving becomes a mid-shift failure, a lost tooth in the crusher and a lip repair.
Cost per hour: what the repair actually buys
Unhardfaced cast teeth in mixed earth-rock service last 120–220 operating hours. The same specification with qualified hardfacing runs 300–550 hours (source: TrueCast field data, 2026). On a 20-tonne class machine that is the difference between changing points every three weeks and every six, and hardfacing programmes of this kind typically pay back in three to six months through parts consumption and downtime alone.
For planning, these are the intervals that hold up in the field for a 45–50 tonne carrier in rock: heavy rock teeth 600–1,200 hours, penetration tips 400–800 hours, adapters and shrouds 1,200–2,500 hours, side cutters 800–1,600 hours (source: XE470D GET service data, 2026). Treat them as bands, not promises — abrasive ground moves everything to the low end.
Two habits destroy those numbers faster than any rock: running a loose pin assembly can cut adapter life by more than 50%, and fitting a new tooth onto a worn adapter transfers the whole load to the new point (source: TrueCast, 2026; STK Mining). Both are free to fix.
Buying replacement adapters: the five-line RFQ
Most wrong shipments are ordered with one line: a part number. Five lines close that gap.
- Machine and bucket family — model, serial number, bucket part number if it is still legible.
- Interface — pin-on or weld-on, pin diameter, retainer type (rubber, steel, flexpin, hammerless), and the tooth family it must accept.
- Material and hardness band — adapter body typically 25–35 HRC with impact energy above 15 J, tooth 45–55 HRC at 8–25 J (source: BENEPARTS adapter specification). The 2026 aftermarket floor written into serious purchase orders is 48–52 HRC, 1,400 N/mm² tensile and 20 J impact for rock teeth (source: Join Machinery, 2026 aftermarket demand outlook).
- Dimensions — nose length, bore diameter, centre distance, with a dimensioned drawing or your own measurements confirmed back to you.
- Documents — material certificate and hardness report tied to the heat number of the batch being shipped, plus marking and packing instructions.
Expect a 35–55% premium for OEM-branded adapters over quality aftermarket equivalents (source: Join Machinery, 2026). The premium buys a part number and a warranty chain, not necessarily more hours. What it should not buy is silence: a supplier who cannot state the hardness band on the exact part you are ordering, and cannot tie a test report to the heat number, is not competing for the same order.
Keeping adapters repairable: the routine
Repairability is a maintenance outcome, not a workshop skill. Four habits keep adapters in the rebuildable band:
- Check clearance every 50 hours. A new tooth and a feeler gauge take two minutes and catch nose wear before it becomes a pin problem.
- New pin and retainer at every tooth change. Used pins are work-hardened and crack; the retainer is the step most often skipped and the most dangerous one to skip.
- Rotate corner to centre. Corner teeth wear 30–50% faster than centre teeth, and rotating them flattens the wear profile across the whole lip.
- Clean the seating surfaces. Compacted material under the tooth changes the load path and accelerates bore wear from the first shift.
Log the hours and photograph the nose at each tooth change. A phone photo library with dates is enough to see a nose going from 1 mm to 3 mm of clearance, and that is the moment a rebuild is cheap.
Where Siderwin fits in this decision
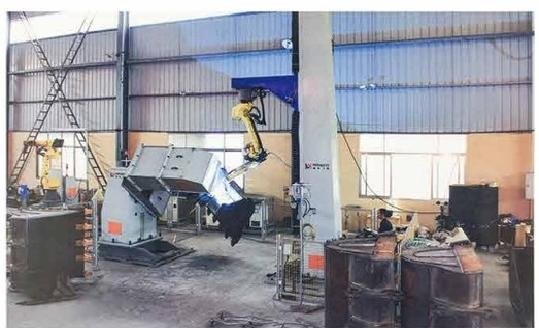
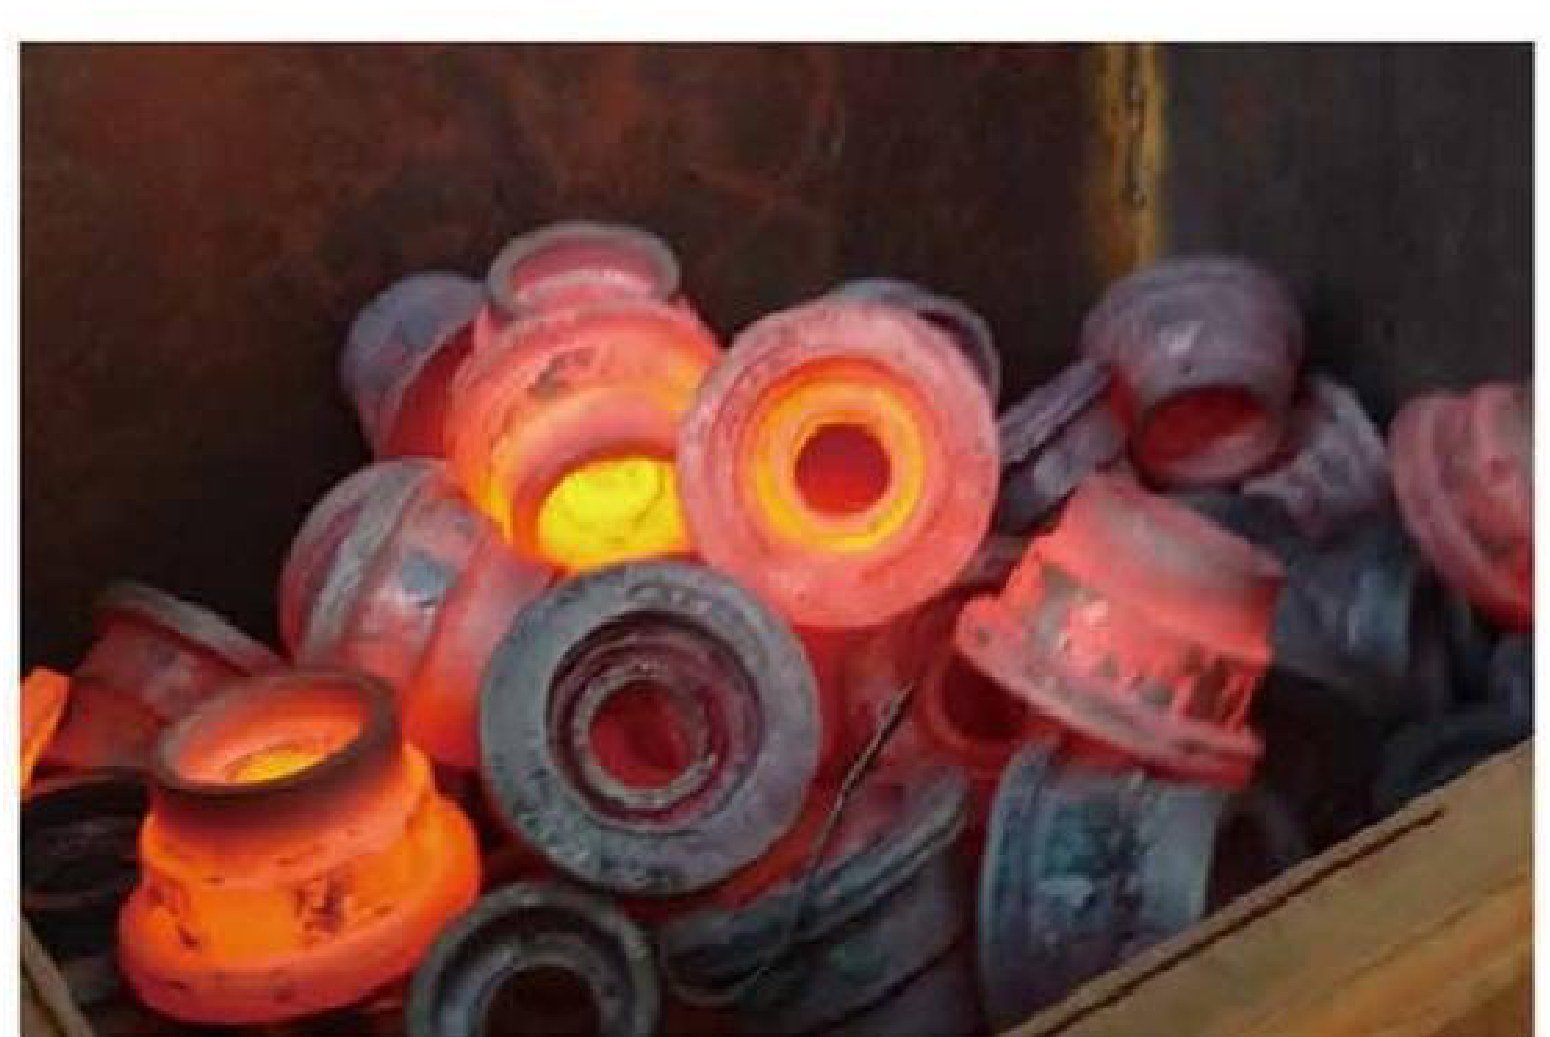
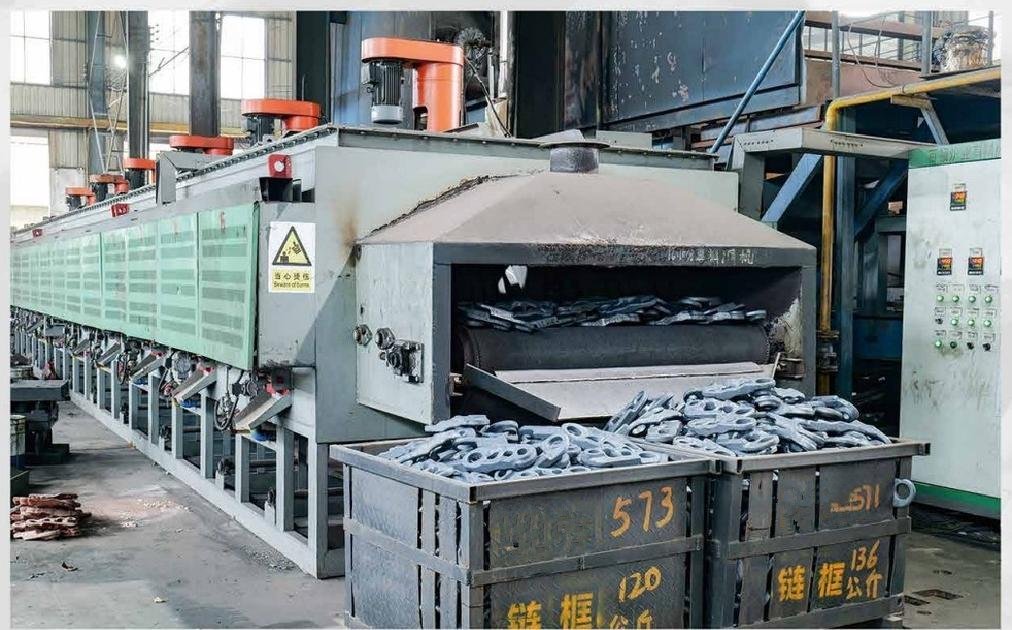
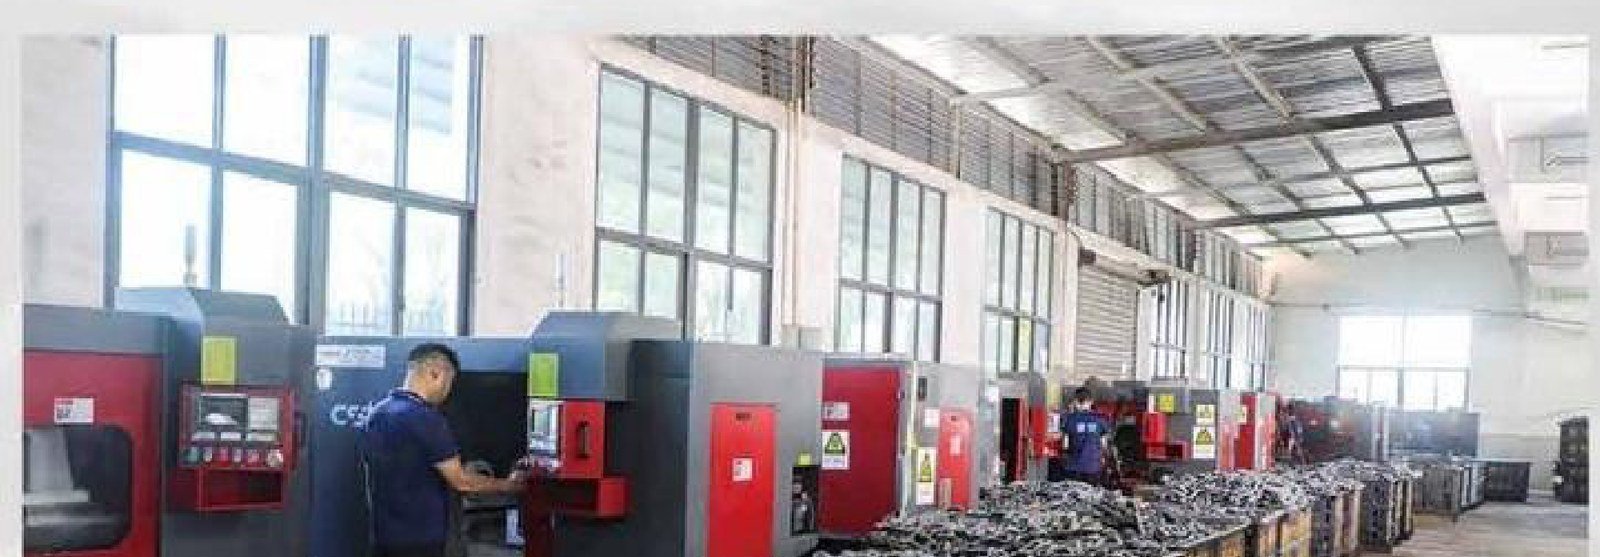
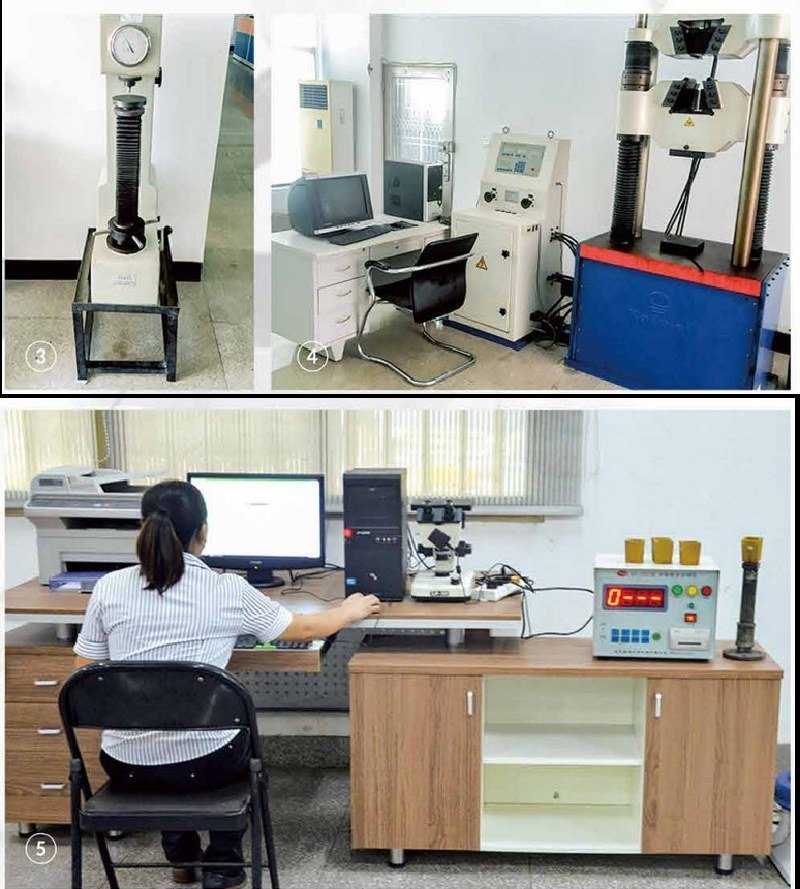
We manufacture both halves of the system, which makes the repair-or-replace question easier to answer honestly. Our Liuyang plant covers 80,000 m² with laser cutting, robotic welding, a 4,000-tonne forging line, in-house heat treatment and a physical-chemical laboratory for impact, tensile, hardness and metallographic testing. We supply undercarriage, GET and piling tools to OEM lines including Sany, Sunward and Zoomlion, and export to more than 20 countries. If you send the measurements from the matrix above, we will tell you which positions are worth rebuilding and which are not — even when the answer is fewer parts.
Need adapters that survive a rebuild? Send your part numbers, bore measurements and ground conditions and we will come back with a specification and a price — including an honest answer on which of your current adapters are worth welding.
Email: info@siderwin.com | WhatsApp / Tel: +86 181 4265 7536 | Web: www.siderwin.com