A new bucket tooth cannot correct a damaged adapter. If we ignore the connection, a routine tooth change can leave the bucket with loose parts and further wear.
We check bucket tooth adapter wear by identifying the tooth system, cleaning the connection, inspecting the nose and mounting area, and comparing fit with the supplier's limits. We also check the locking parts before approving replacement teeth.
At Siderwin, we supply bucket teeth, adapters and excavator buckets. We approach replacement as a matching task. The tooth, adapter and locking components must work together. This guide explains what buyers should inspect and what information we need before recommending a replacement.
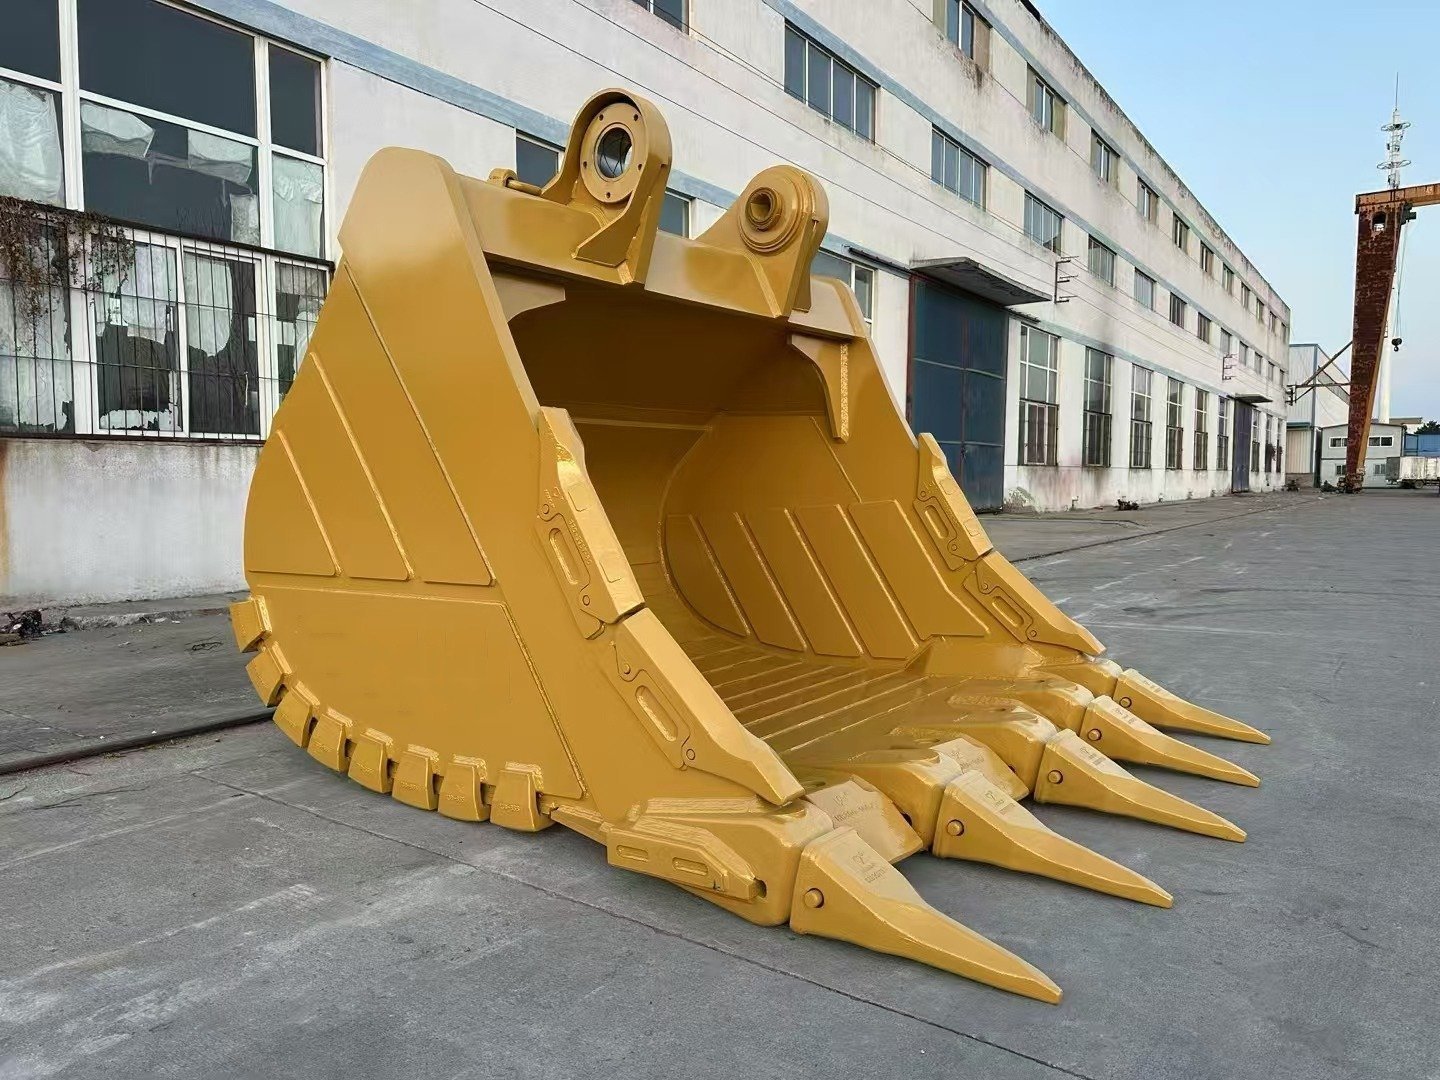
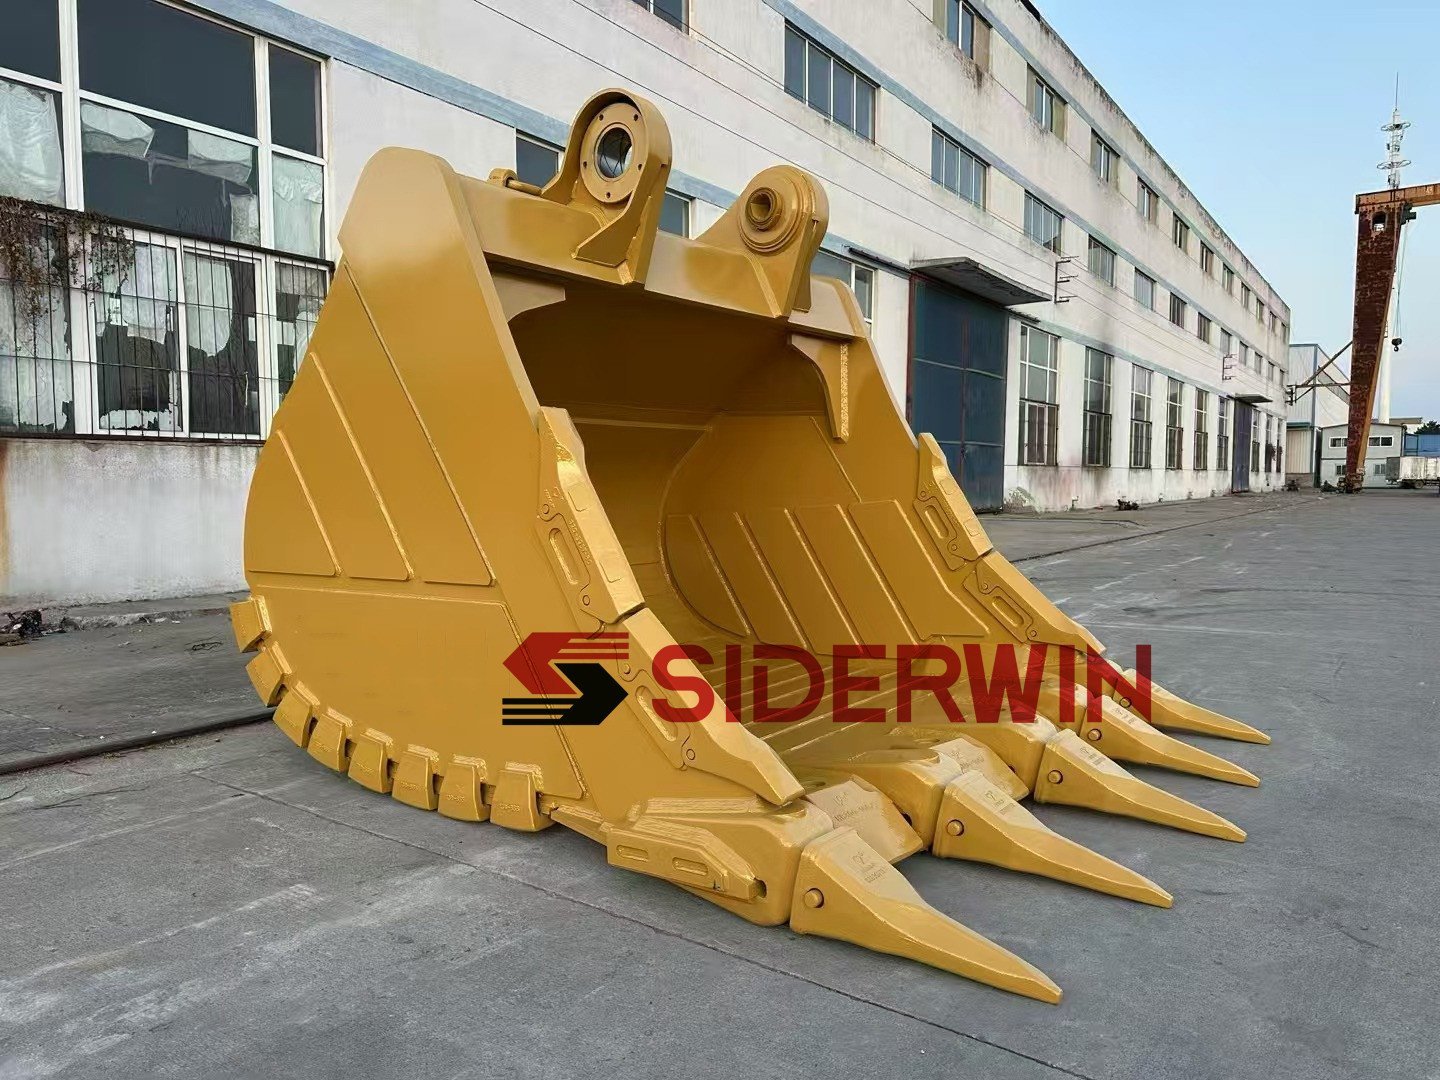
The bucket front brings the tooth, adapter and retention system together.
Why Should We Inspect the Adapter During Every Tooth Change?
The tooth is the visible wear part. The adapter sits behind it, where damage can be harder to see until we remove the tooth.
We inspect the adapter during a tooth change because the new tooth depends on its supporting surfaces. A worn nose, damaged locking feature or cracked mounting area can prevent the replacement from working as intended.
How does the connection carry the digging load?
The tooth meets the material first. Its internal pocket fits over the adapter nose. The mating surfaces provide support, while the retention system holds the tooth in place according to the design.
We should not expect a pin to compensate for a poor fit. We also should not assume every system uses the same load path or locking method. Some assemblies use driven pins. Others use rotating locks or different mechanical retainers.
We confirm the system before discussing replacement. Machine size alone does not identify it. An excavator may have a replacement bucket or a tooth system changed during an earlier repair.
Why can a new tooth still become loose?
A loose replacement can have several causes. The adapter may be worn. Packed material may stop the tooth from seating. The tooth size may be wrong, or the locking parts may not match the assembly.
We treat looseness as a reason to investigate. We do not immediately blame the tooth or tighten the connection with an improvised pin. A temporary workaround can hide the original problem and complicate the next inspection.
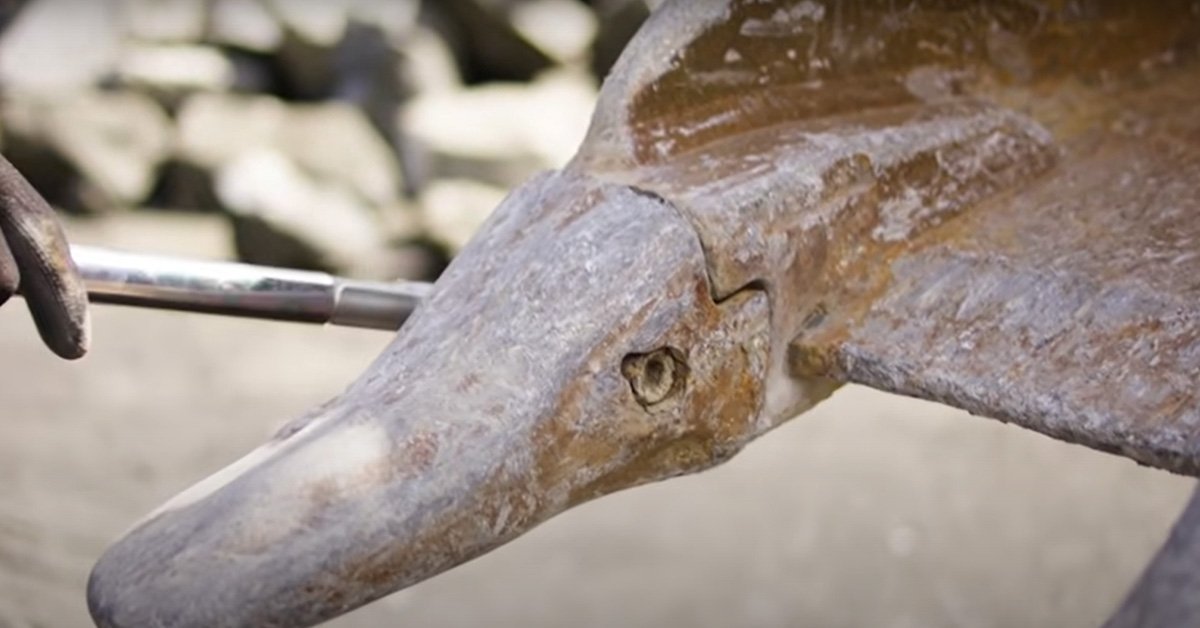
Record the installed connection before removing the tooth. Follow the instructions for the actual system.
What Should We Check Before Removing the Old Tooth?
The old assembly holds useful evidence. We record its condition before cleaning or dismantling it, provided we can do so safely.
We first record the part markings, tooth position, wear pattern and condition of the lock. We then prepare the machine and bucket according to the applicable maintenance procedure before removing any component.
Make the work area safe
We follow the machine manual and the tooth-system instructions. The bucket must be empty, positioned and supported as specified. We isolate the machine and control stored energy before anyone works around the assembly.
We never rely on hydraulic pressure alone to hold equipment above a person. We use the required protective equipment and approved tools. Pin removal direction, support position and lock release methods vary between systems, so this article does not replace the installation manual.
Keep a simple inspection record
We photograph the full cutting edge, the affected tooth and the connection from both sides. We note whether one position wears differently from the rest. We record missing locks, visible cracks and any unusual movement reported by the operator.
We label each position on the bucket. This helps us compare the same location at the next change. It also prevents a purchasing team from mixing photographs from different machines or buckets.
Which Areas Show Bucket Tooth Adapter Wear?
We need a clean view of the connection. Dirt can conceal a crack or make a worn surface look larger than it really is.
We inspect the adapter nose, contact surfaces, locking features, straps and mounting area. We look for lost profile, cracks, deformation and abnormal wear, then assess those findings against the requirements for that specific system.
Inspect the nose and supporting surfaces
After the tooth is removed, we clean the adapter using the approved method. We look at the upper, lower and side surfaces of the nose. We check for missing material, damaged edges and changes in the supporting profile.
A polished surface alone does not prove the adapter needs replacement. Some contact marks are expected in service. We consider the location and extent of the marks, the remaining geometry and the fit requirements together.
Examine the locking features
We inspect the relevant holes, recesses or lock seats. We look for deformation, damage and wear that could affect retention. We check the removed pin and retainer as part of the same inspection.
We do not set a universal acceptable hole diameter or clearance. Different systems use different dimensions. If the identification is uncertain, we ask for drawings or verified measurements before selecting parts.
Check the adapter attachment and bucket edge
We examine the mounting area for visible cracking and damage. On welded assemblies, we inspect the accessible welds and nearby edge. On mechanically attached assemblies, we check the attachment according to its instructions.
If a crack appears, we stop treating the job as a simple tooth replacement. A qualified repair specialist must assess the affected area. Installing another tooth does not repair a damaged attachment or bucket structure.
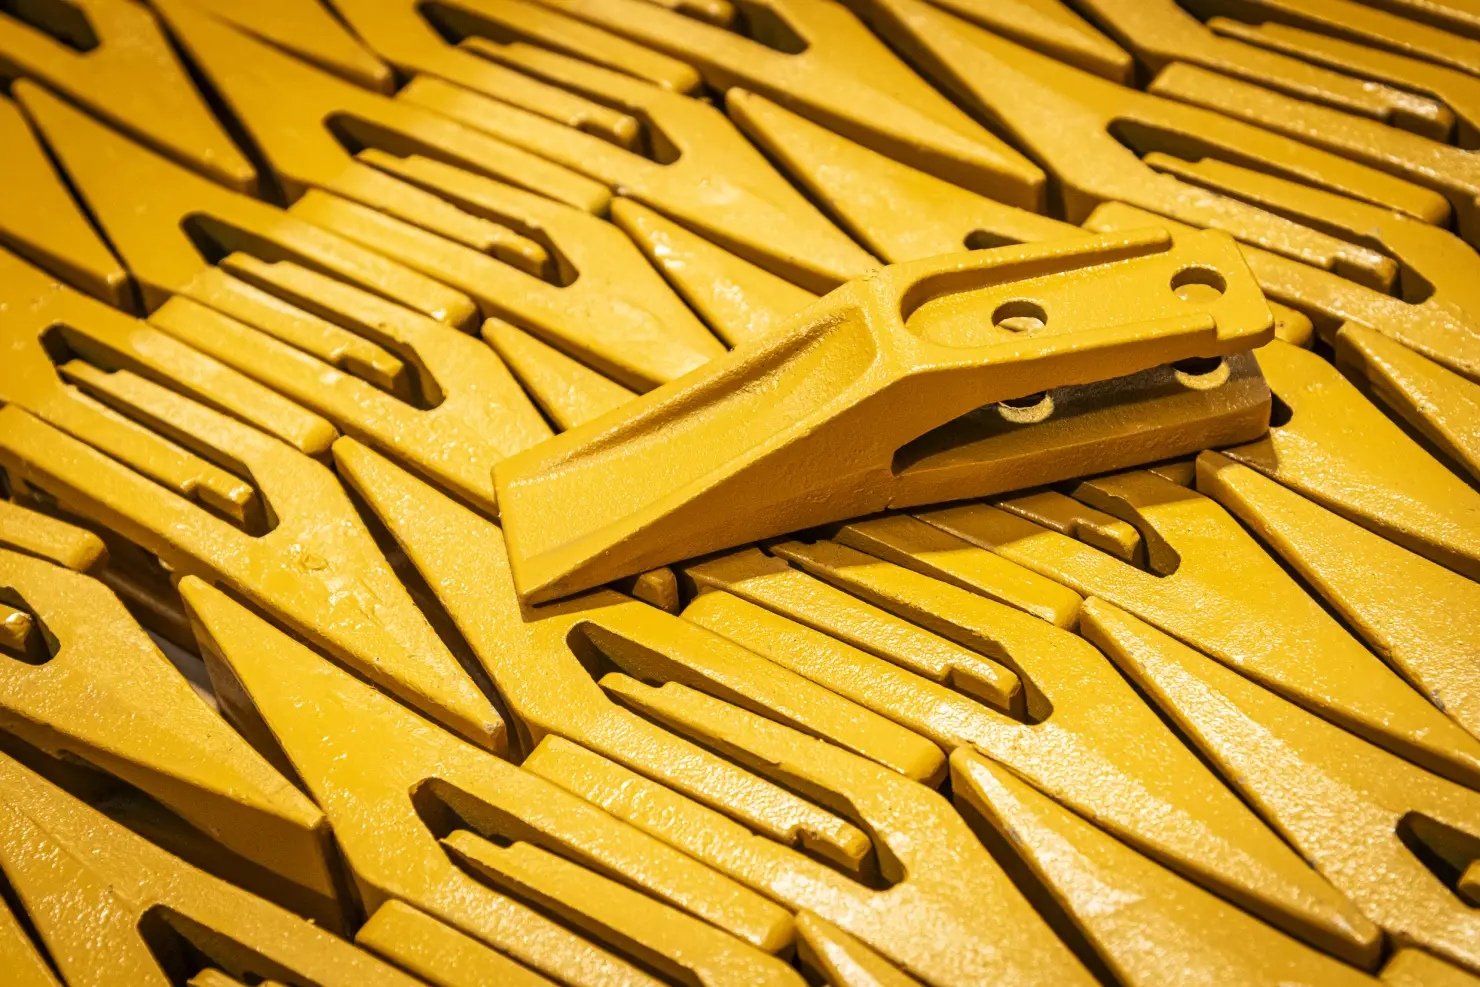
Pocket geometry and locking details matter when identifying a replacement tooth.
How Do We Tell Adapter Wear from a Wrong Tooth?
Both problems can create poor fit. We need to identify the assembly before deciding which component is responsible.
We compare the tooth and adapter identities, inspect the cleaned surfaces, and check fit using the approved method. We use a verified matching tooth or reference dimensions when available, rather than judging compatibility by appearance alone.
Start with identification
We collect the tooth number, adapter number and locking-part references. We also ask for the bucket information. Cast markings can be worn or difficult to read, so photographs and measurements may be needed.
We do not accept a similar outline as proof of interchangeability. Two teeth can look alike while their pockets or retention details differ. A supplier must confirm the complete connection, including the lock.
Compare findings without inventing a tolerance
We check seating and movement only as directed by the system supplier. Some designs have intentional clearances. We do not require every rear face to touch, and we do not publish one gap measurement for all adapters.
| Finding | What we investigate | Purchasing action |
|---|---|---|
| Tooth will not seat correctly | Dirt, damage or incompatible geometry | Confirm identification before ordering |
| Unusual movement after cleaning | Supporting-surface wear or incorrect parts | Obtain a system-specific fit assessment |
| Lock cannot engage as specified | Wrong lock, misalignment or damaged features | Verify the complete retention set |
| One position repeatedly has problems | Local adapter condition and operating pattern | Inspect that position separately |
| Crack near the attachment | Adapter, weld or bucket-edge damage | Obtain a repair assessment before fitting parts |
These observations guide inspection. They do not replace the manufacturer's acceptance limits or prove a failure cause on their own.
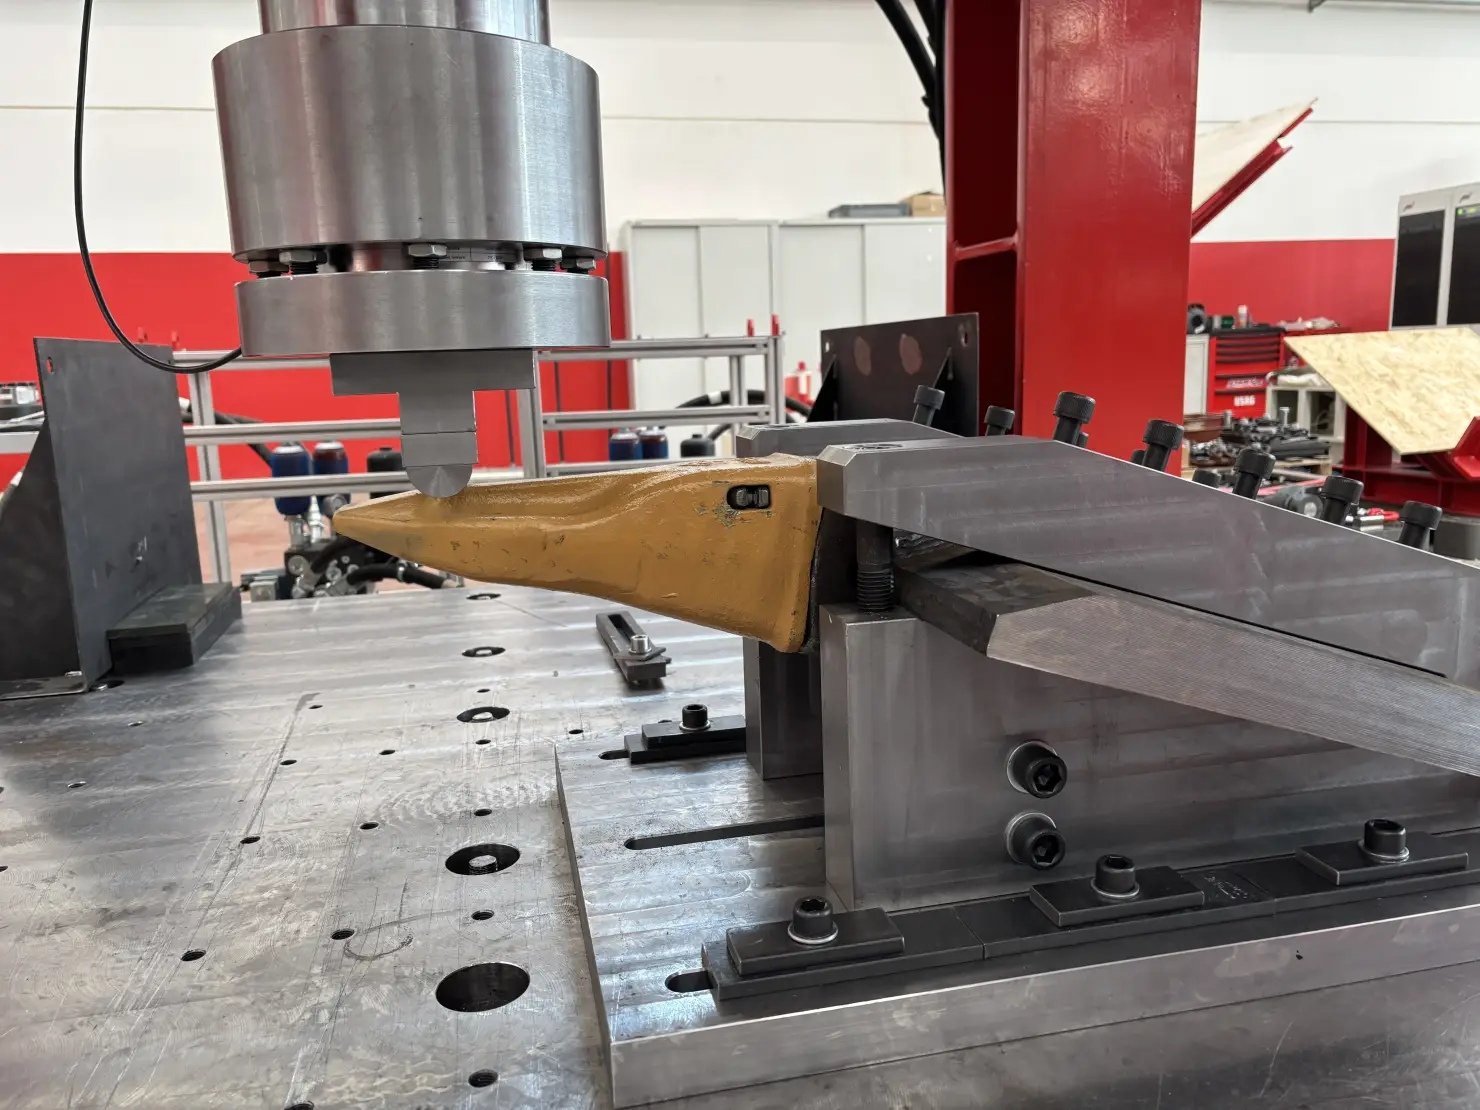
A tooth in a test fixture. This photograph does not establish a test result or a universal wear limit.
When Should We Replace the Adapter Instead of Only the Tooth?
We base the decision on condition and approved limits. A fixed number of operating hours cannot describe every material or digging pattern.
We replace or repair an adapter through the approved process when inspection finds unacceptable wear, cracking, deformation or retention damage. We do not keep a damaged adapter in service simply because a new tooth can slide onto it.
Follow the correct wear limits
Where the supplier provides a wear gauge or inspection dimensions, we use them. We record the results and the reference used. Where limits are unavailable, we request a technical assessment rather than guessing from a photograph.
We also avoid waiting until the tooth wears through and exposes the adapter to direct material contact. Inspection frequency should follow the manual and reflect the working conditions. Abrasive material and impact require close attention to the assembly.
Plan repairs as a separate task
Adapter replacement may involve welding or other skilled work. The repair requires an approved procedure suited to the materials and bucket design. We confirm positioning, alignment and any required preheat or inspection with the repair provider.
We do not recommend welding a worn nose back to shape without approval. A repair that changes geometry or material properties may affect fit and performance. The lowest initial repair price is not enough to assess that risk.
Can We Reuse the Pin and Retainer?
The locking parts may cost less than the tooth, but they remain essential to the assembly. Their condition deserves a separate check.
We follow the system instructions for pin and retainer reuse. We replace damaged parts and any components specified for replacement during a tooth change. We never substitute an unverified pin or modify the lock to make mismatched parts fit.
We inspect the lock for wear, deformation and missing features. We check any spring or resilient element where the design uses one. We keep locking parts labelled with their correct system and size.
A retention kit should appear clearly on the quotation. We ask whether the tooth price includes the pin and retainer or whether they are supplied separately. This avoids discovering missing components after the machine has stopped for maintenance.
After installation, we verify seating and locking through the specified procedure. We record the fitted parts and follow the supplier's instructions for subsequent checks. We do not treat installation as complete merely because the tooth stays on during handling.
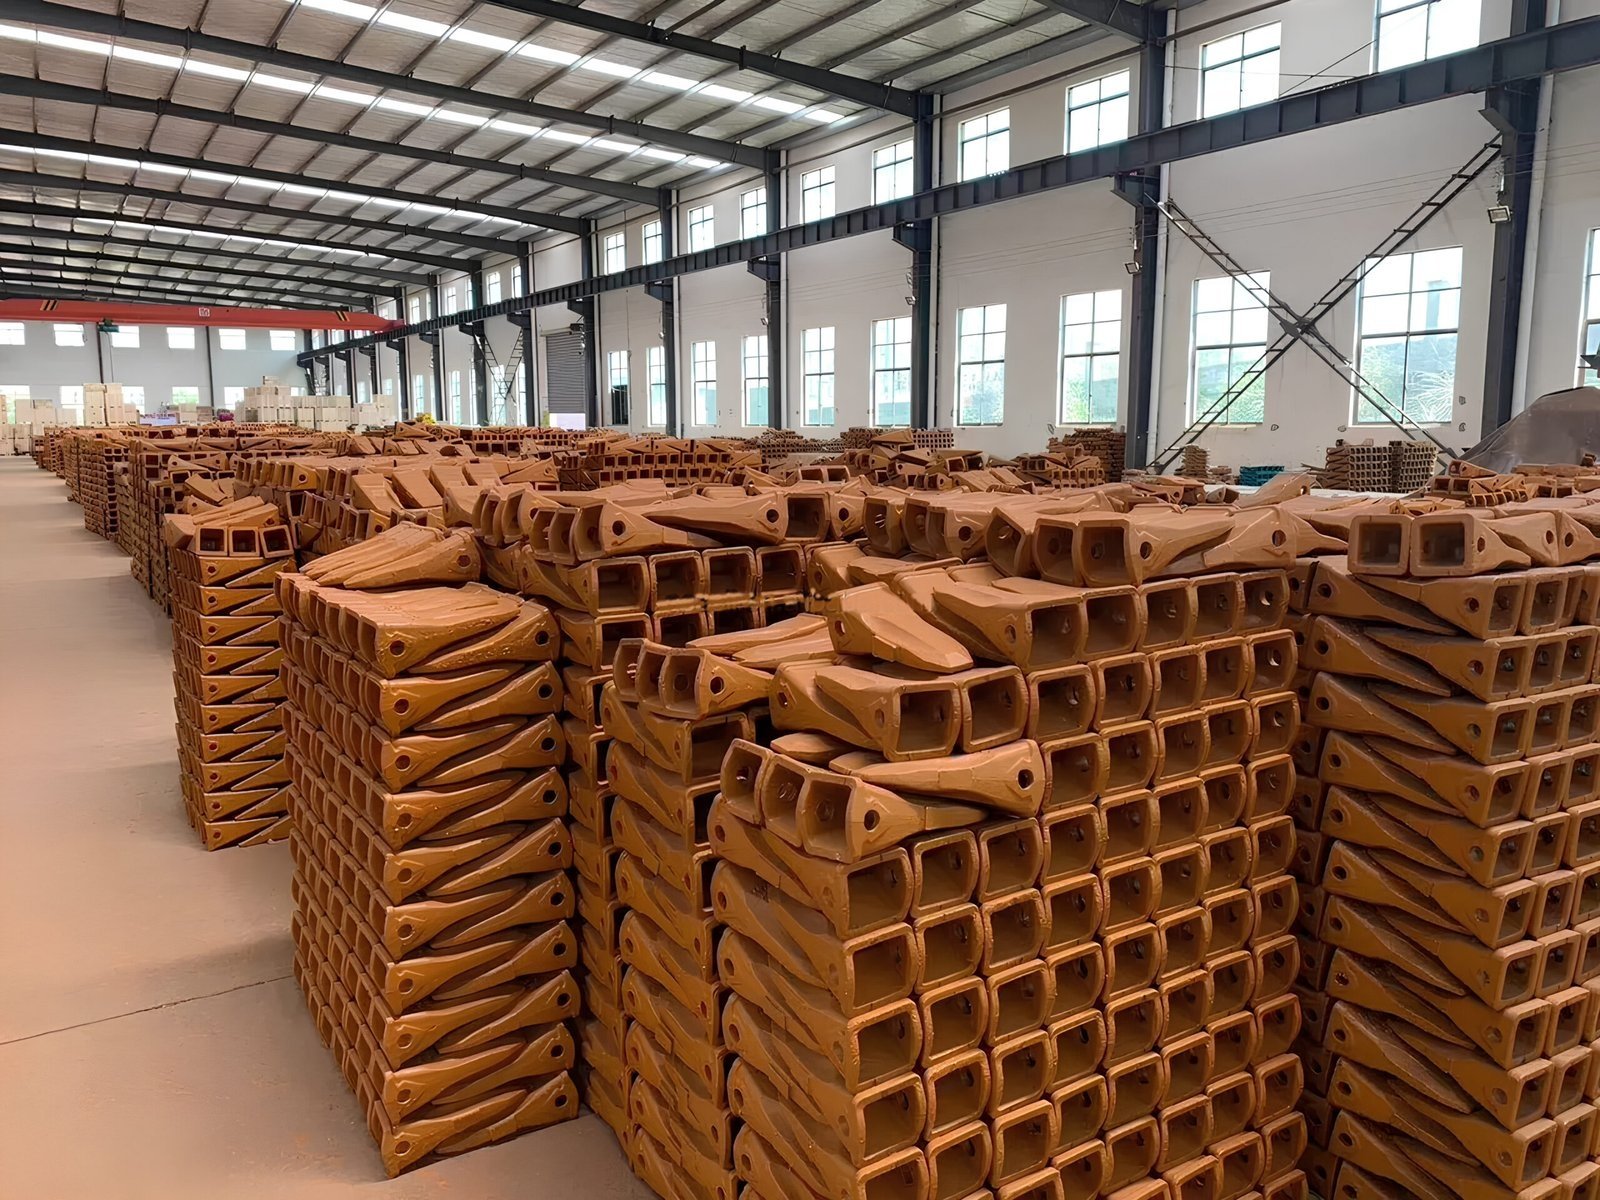
Clear part references help distinguish similar-looking teeth.
What Information Should Buyers Send for a Correct Quotation?
A clear enquiry reduces back-and-forth messages. It also helps us distinguish a tooth-only order from a wider connection repair.
We need the part references, clear connection photographs, machine and bucket information, working material and required quantities. If identification is uncertain, we also need measurements taken from the correct reference points.
Send photographs that answer a question
We ask for the complete bucket front, a side view of the tooth and readable markings. If the tooth has been safely removed, we ask for views of the adapter nose and the locking features.
A photograph of a tooth lying on the ground may show its profile but hide the pocket. A close-up without scale may show damage but cannot establish a dimension. We ask buyers to include the views needed for the particular uncertainty.
Explain the application
We need to know whether the bucket mainly handles soil, compacted material, abrasive aggregate or rock. We also ask whether the reported problem is rapid wear, breakage, poor penetration, looseness or tooth loss.
We use this information to discuss a suitable profile within the confirmed system. We do not promise a service life from a material description alone. Actual results depend on the complete assembly, conditions and operation.
Confirm the scope before ordering
We separate teeth, adapters, locks and other wear parts in the quotation. We confirm quantities, shipping destination and any required technical documentation. If adapters are included, we ask the repair provider to verify the mounting details before purchase.
For repeat orders, we recommend keeping an approved parts list for each bucket. The list should identify the assembly actually fitted, rather than relying only on the excavator model. This makes future purchasing clearer when a fleet contains different bucket configurations.
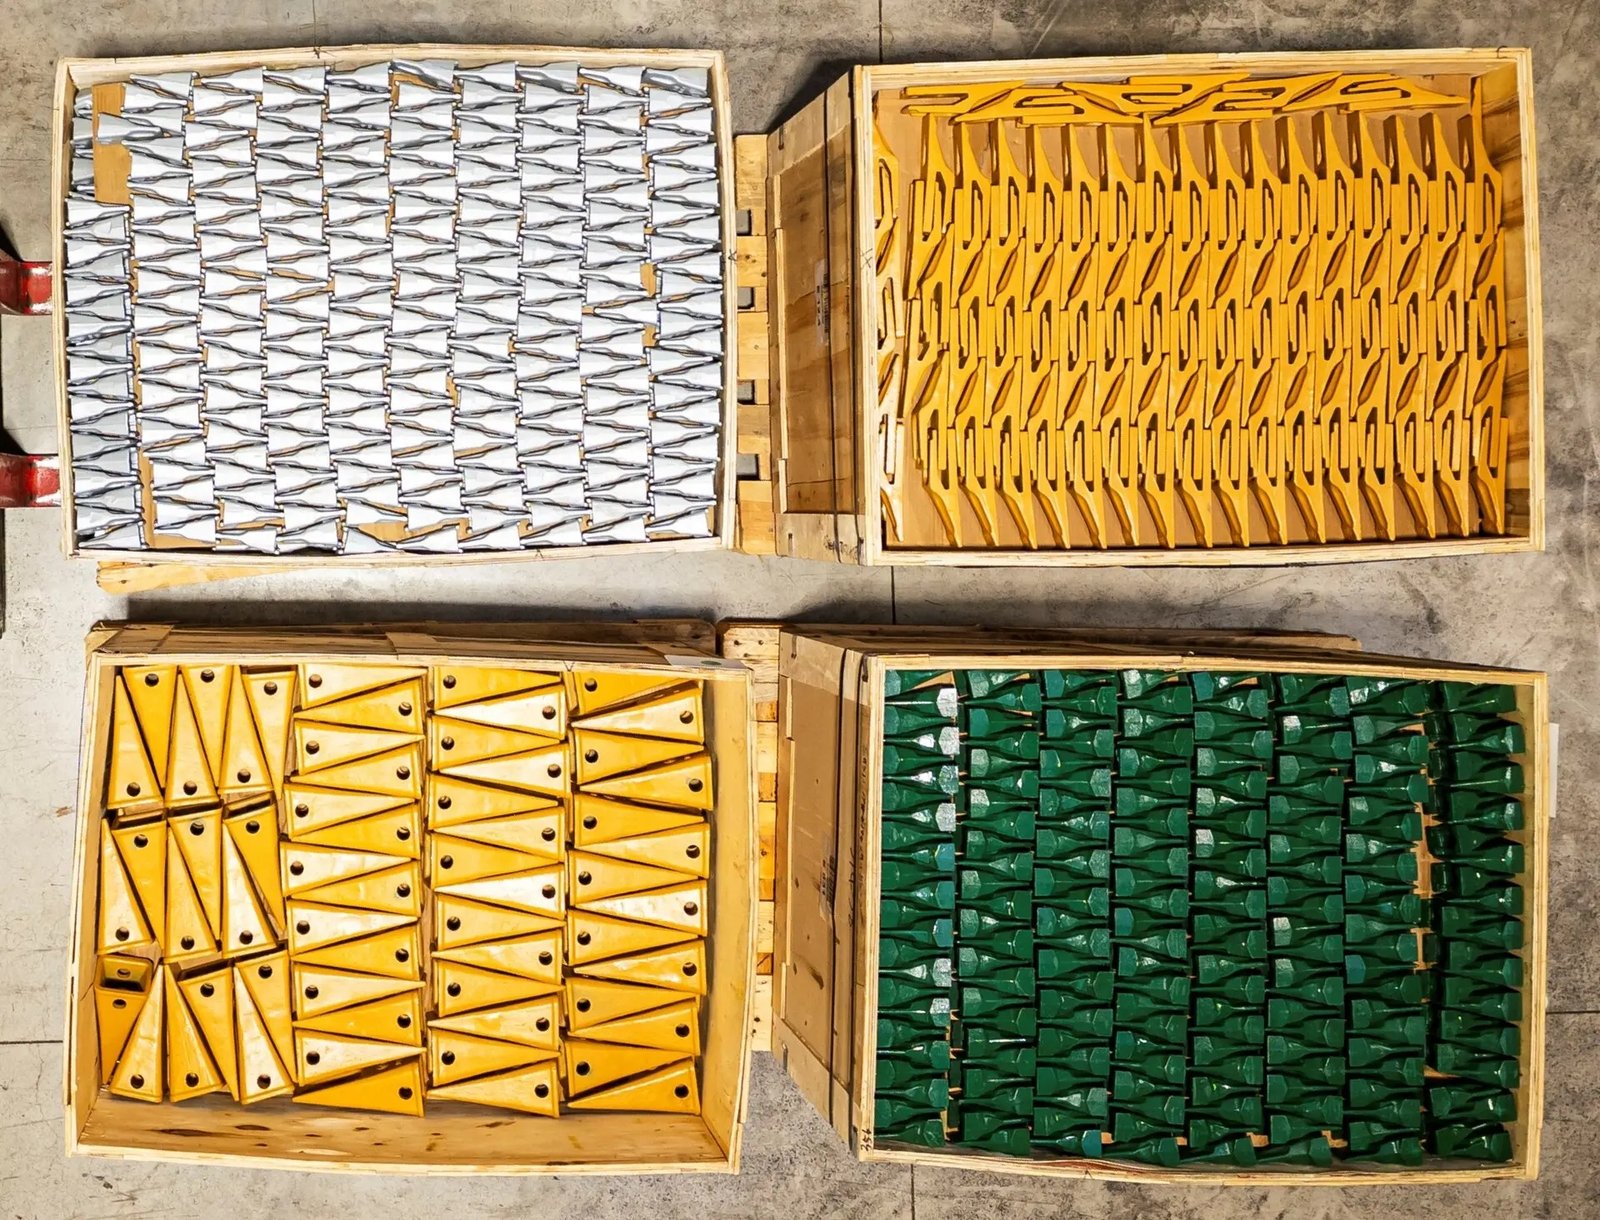
Keep replacement teeth identified by their verified system and size.
How Can We Make the Next Tooth Change Easier?
We can improve the next inspection with a small amount of preparation. Good records are more useful than a drawer full of unidentified spare parts.
We keep verified part references, labelled spare locks and a condition record for each bucket. We inspect the adapter during tooth changes and use those findings to plan maintenance and replenishment.
We record the installation date, operating hours when available and the material handled. We keep photographs from the same positions. We note whether a tooth change also required an adapter or structural repair.
These records can reveal recurring issues that need investigation. They cannot, by themselves, prove that one material grade or tooth profile caused a problem. We consider fit, retention, working conditions and operation before recommending changes.
At Siderwin, we can review your part references and application details when preparing a quotation for bucket teeth and adapters. Send us clear photographs and the required quantities. We can then clarify the matching information and any unresolved points before you order.
Conclusion
We check the adapter, tooth and lock as one assembly. Correct identification and a documented inspection help us order suitable parts and plan repairs before installation.